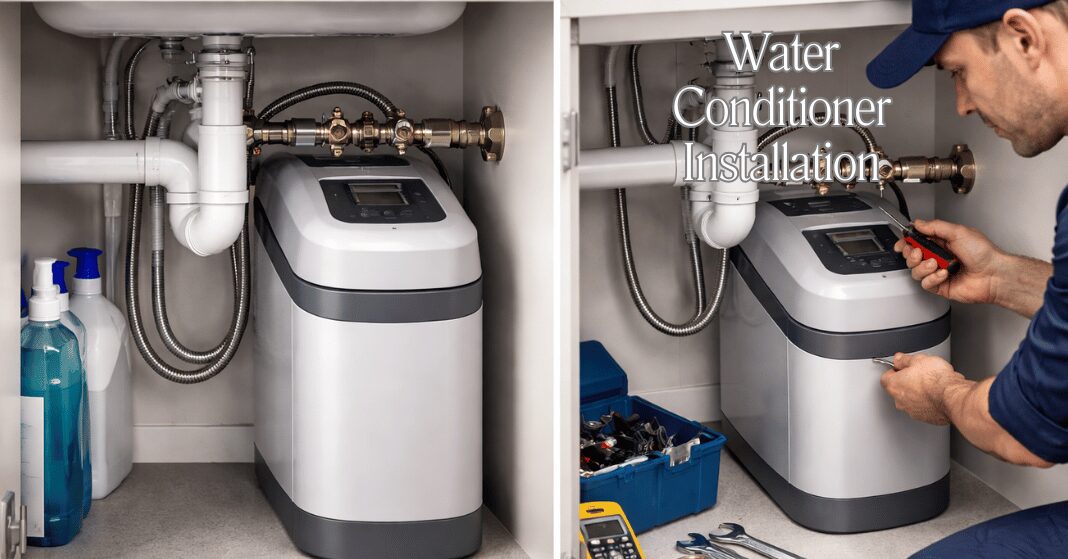

Hard water is often an unseen problem that quietly wreaks havoc on your home, leaving behind mineral buildup in pipes, damaging appliances, and causing dry skin or dull hair. A proper water conditioner installation can be a game-changer, transforming your water into a cleaner, softer, and more enjoyable resource for daily use.
Not only does it protect your plumbing and extend the lifespan of appliances like water heaters and dishwashers, but it also promotes a healthier, more comfortable home environment. In this guide, we’ll walk you through a complete step-by-step process for water conditioner installation, along with practical maintenance tips and best practices to ensure long-lasting performance.
| Step / Section | Key Points / Overview |
| Introduction | Hard water can damage appliances, pipes, and skin; water conditioner installation improves water quality and home health. |
| What is Water Conditioner Installation? | Process of reducing minerals like calcium and magnesium in hard water; salt-free units prevent scale buildup and are healthier for home use. |
| Tools Needed | Adjustable wrench, pipe cutter/hacksaw, Teflon tape, screwdriver set, bucket/container. |
| Materials Needed | Water conditioner unit, bypass valve kit, plumbing fittings, tubing/pipes. |
| Choose Ideal Location | Near the main water line, with clearance for maintenance, away from sunlight/extreme temps, near a drain if required. |
| Turn Off Water Supply | Shut off main water and power (if applicable); drain faucets to prevent spills. |
| Install Bypass Valve | Connect inlet/outlet pipes, use manufacturer-recommended fittings, and ensure the unit is level and stable. |
| Connect Water Conditioner | Connect inlet/outlet pipes, use manufacturer-recommended fittings, and ensure the unit is level and stable. |
| Flush and Test System | Incorrect bypass valve setup, poor pipe connections, ignoring instructions, and improper placement. |
| Maintenance Tips | Inspect monthly, clean filters every 3–6 months, inspect internal components annually, and test water hardness periodically. |
| Common Mistakes | Incorrect bypass valve setup, poor pipe connections, ignoring instructions, and improper placement. |
| Benefits | Reduced scale, lower maintenance costs, enhanced water quality, and an eco-friendly, salt-free system. |
| Conclusion | Proper water conditioner installation ensures cleaner, softer water, protects appliances, and promotes a healthier home environment. |
What is Water Conditioner Installation?

Water conditioner installation is an important step for homeowners looking to improve water quality and protect their plumbing systems. A water conditioner works by reducing minerals like calcium and magnesium, which are commonly found in hard water and can cause scale buildup, cloudy water, and soap scum.
Unlike traditional water softeners, many modern units use salt-free technology, which prevents mineral deposits without adding sodium, making the water safer for drinking and healthier for skin and hair. Proper water conditioner installation not only ensures softer, cleaner water throughout your home but also extends the lifespan of appliances such as water heaters, dishwashers, and washing machines by preventing scale-related damage.
Tools and Materials Needed
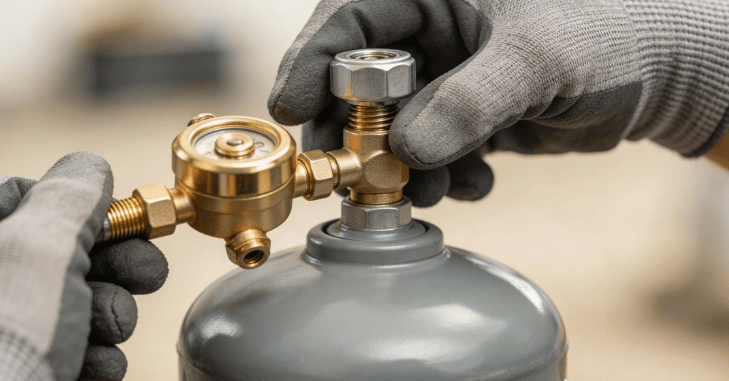
Tools
- Adjustable wrench
- Pipe cutter or hacksaw
- Teflon tape
- Screwdriver set
- A bucket or a container for water drainage
Materials
- Water conditioner unit
- Bypass valve kit (often included with unit)
- Plumbing fittings and connectors
- Tubing or pipes for connection
Choose the Ideal Location
- Install near the main water supply line to treat all incoming water.
- Ensure there is enough clearance for maintenance and filter changes.
- Keep it away from direct sunlight or extreme temperatures, which could damage the unit.
- Place it near a drain if the system requires backwashing or flushing.
Turn Off Water Supply
Before starting the installation, ensure safety by turning off your main water supply and, if applicable, the power supply to the system. Open faucets at both the lowest and highest points in your home to drain any remaining water, preventing spills and making the installation process smoother.
Install the bypass valve.
A water conditioner installation typically includes a bypass valve, which is an important component of the system. It allows you to isolate the unit for maintenance or repairs without shutting off water to your entire home, ensuring your household continues to have access to water while the system is being serviced.
Steps to Install the Bypass Valve
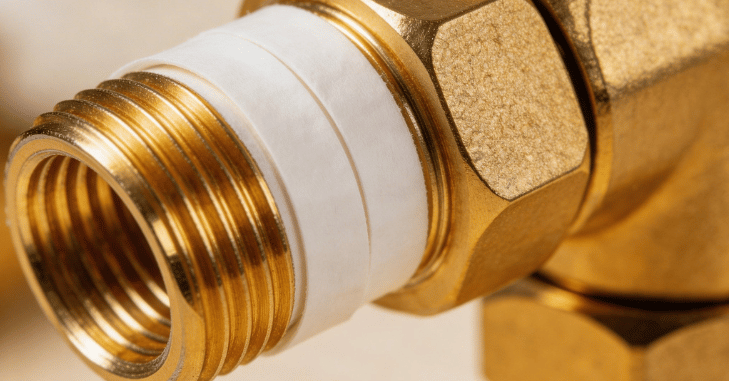
Start by wrapping Teflon tape around the threaded ends of your pipes. This helps create a tight, leak-proof seal. Next, attach the bypass valve to the incoming and outgoing water pipes, making sure it aligns properly. Finally, tighten all connections securely, but be careful not to overtighten, as this can crack the fittings and cause leaks.
Advantages of Using a Bypass Valve
- Uninterrupted Water Flow: Water can still reach your home even when the conditioner is offline.
- Ease of Maintenance: You can service or repair the system without shutting off water to the entire house.
Connect the Water Conditioner
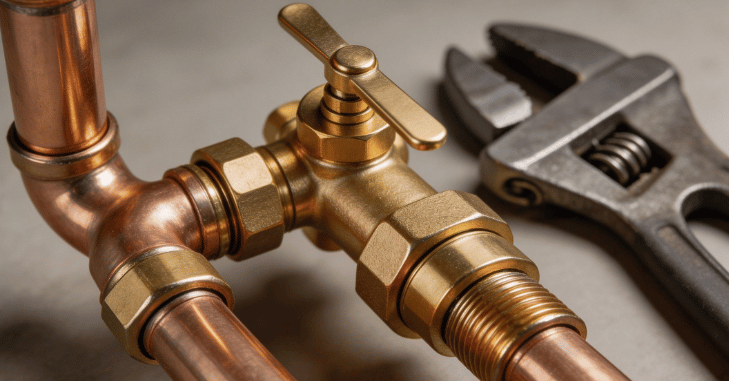
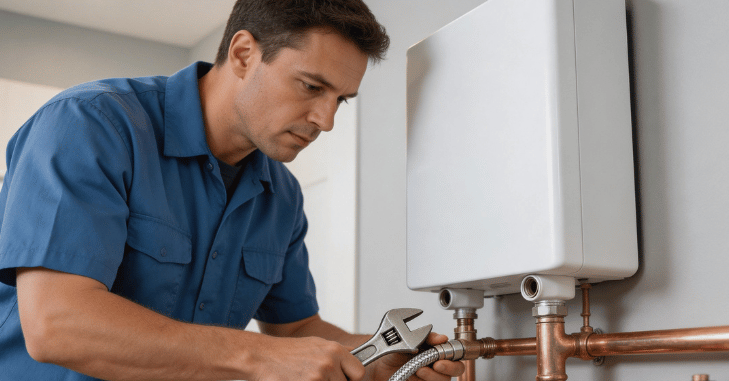
- Connect the inlet pipe from the main supply to the conditioner.
- Connect the outlet pipe to the home water line.
- Use compression fittings or adapters as recommended by the manufacturer.
- Check that the unit is level and stable.
Flush and Test the System
After installing the water conditioner, it’s important to flush the system to remove any trapped air or debris. Start by opening the bypass valve slowly, then turn on the main water supply.
Open a faucet and let the water run for 5–10 minutes while checking all connection points for leaks. Once flushing is complete, verify that the system is functioning properly by ensuring there are no unusual noises, the water flows smoothly without obstruction, and tests with water hardness strips or meters show a noticeable reduction in mineral content
Maintenance Tips
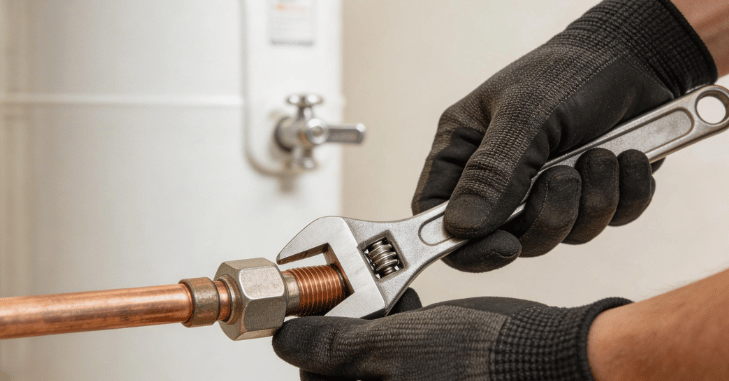
- Monthly: Inspect connections and check for leaks.
- Every 3–6 months: Clean filters or pre-filters, if applicable.
- Annually: Inspect internal components for scale or buildup.
- Water Testing: Test water hardness periodically to ensure effectiveness.
Additional Tips
- Keep the installation manual handy for reference.
- Schedule professional checkups every 1–2 years.
- Replace worn or damaged parts promptly to avoid system failure.
Common Installation Mistakes to Avoid
- An incorrect bypass valve setup can prevent water flow during maintenance.
- Poor pipe connections may cause leaks or pressure drops.
- Ignoring manufacturer instructions: every system has unique requirements.
- Improper placement: exposure to sunlight or freezing temperatures can damage the unit.
Benefits of a Properly Installed Water Conditioner
- Reduced Scale Build-up: Protects appliances and plumbing from mineral deposits.
- Lower Maintenance Costs: Less frequent repairs and replacements for water-using appliances.
- Enhanced Water Quality: Cleaner, softer water for drinking, cooking, and bathing.
- Eco-Friendly: Salt-free conditioners reduce environmental impact compared to traditional water softeners.
Conclusion
Water conditioner installation is an essential step for homeowners seeking cleaner, softer water, improved appliance lifespan, and a healthier home environment. By carefully following the step-by-step process from choosing the ideal location and installing the bypass valve to flushing the system and performing regular maintenance, you can ensure your water conditioner operates efficiently and effectively.
Proper installation not only protects your plumbing and appliances from mineral buildup but also enhances the overall quality of water throughout your home, making everyday tasks easier and more enjoyable. Investing in a professional or well-executed water conditioner installation is a long-term solution that brings comfort, convenience, and peace of mind.
Want to know about How to Remove a Toilet: Complete Step-by-Step Guide for Easy, Mess-Free Removal with Essential Tools, Safety Tips, Plumbing Basics, Water Shutoff Instructions, and DIY Replacement Preparation Check out our Home Improvement category.
FAQs
A water conditioner will lessen scale stains around your fixtures and drains and shield your pipes from scale accumulation.
Before your water heater, water softeners are often positioned close to the incoming main water line.
You may work on the project at your own pace and save money by installing a water softener yourself rather than hiring a plumber.
Water softeners are more effective at inhibiting scale than the majority of water conditioning solutions.